


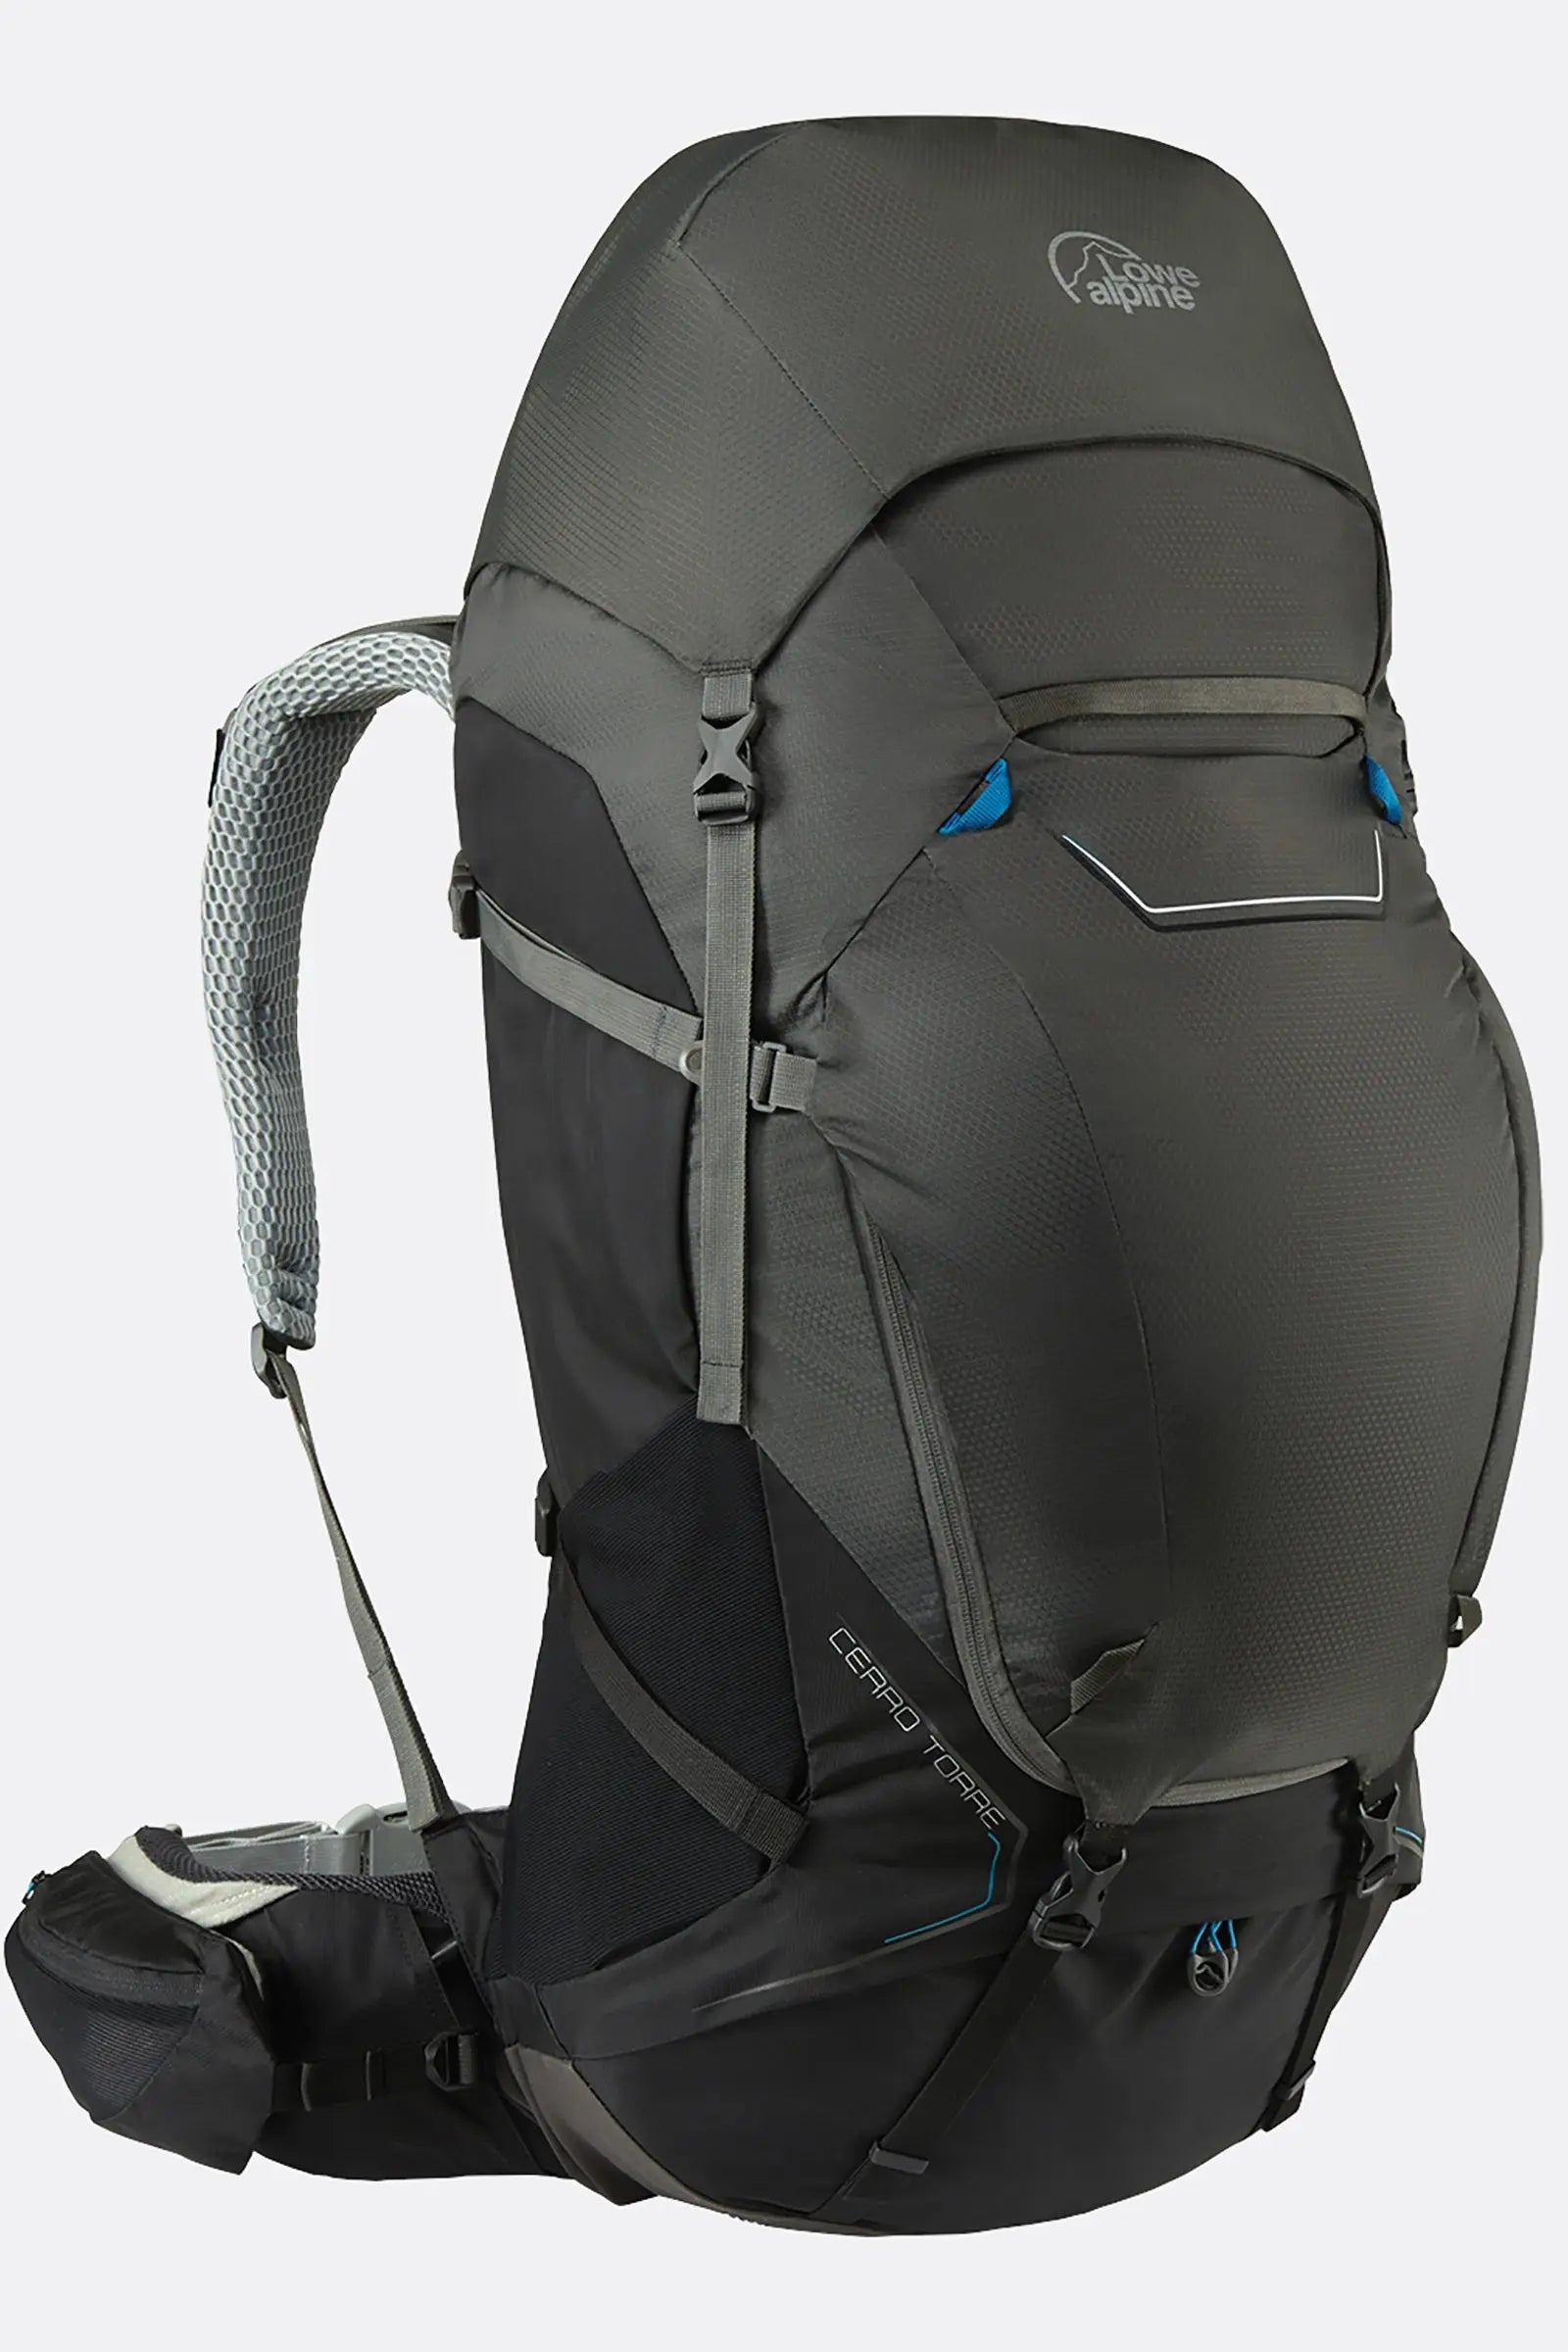


Designed for committing multi-day treks and self-sufficient expeditions, the Cerro Torre 100:120 has significant capacity to comfortably carry everything you’ll need. Keeping you organised on the move, it has zipped front and lower entry with internal zipped divider panel. An extendable lid increases the volume by an extra 20 litres, while a HeadLocker axe attachment and lash points on the outside of the pack ensure that all your gear goes wherever you do. The lid is also removeable and converts into a 15L day pack with a front pocket. You can leave your gear at basecamp and head out to explore with a lighter load or stash the bulk of your kit before pressing on to a summit with the bare necessities. Made with tough ripstop fabric with a TriShield weather protective finish, the Cerro Torre stands up to rugged terrain and rough weather. The VT Flex™ carry system features an adjustable back length, a forward pull hipbelt for an easy fit, and dual pivot hip fins which move with you for enhanced comfort carrying heavy loads.
A properly fitted pack makes all the difference when you’re tackling tricky terrain and steep ascents.
Your backpack should feel unrestrictive and give your body the freedom of movement it needs.
This guide is here to help you find the right size backpack for your next trip, and adjust it to achieve the perfect fit.

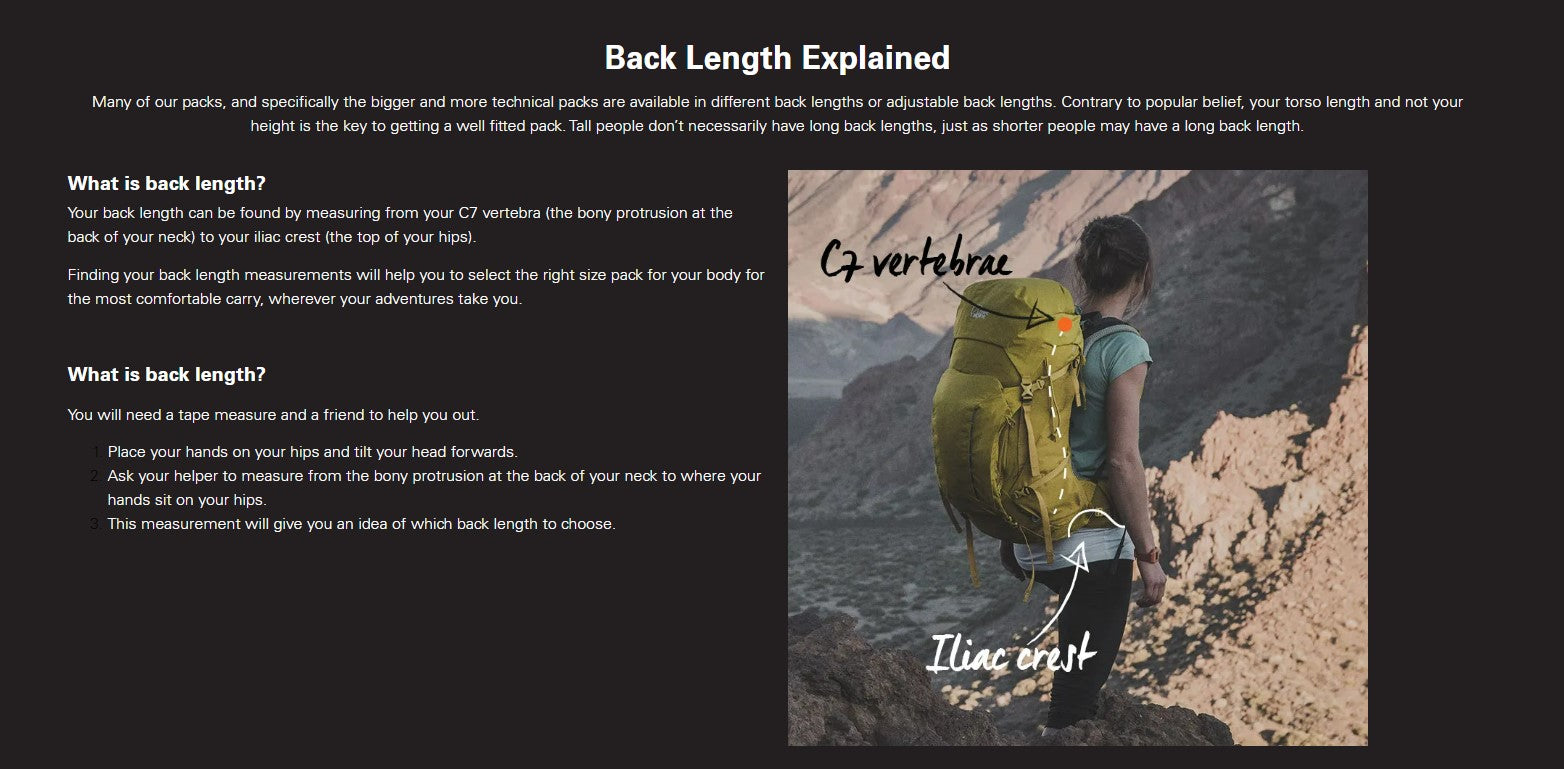
You can find your iliac crest by tilting your head forward slightly to find your C7 vertebra, and placing your hands on your hips. Your iliac crest is the most obvious protruding part of your 'hip bone' and where you would naturally place your hands on your hips.

Bear in mind that some of our backpacks have an adjustable back system, so you can further fine-tune the length.
Many of our larger volume packs are also available in ‘ND’ or narrow dimensions, ideal for women or those with smaller frames.

A hiking backpack’s harness is usually made up of four main parts, these are:
Hipbelt
The hipbelt is designed to securely fasten around your hips. A common mistake is to put the weight of the backpack on your shoulders and use the hip strap for stabilisation. In fact, it works the other way round. The hips need to take your weight and the shoulder straps are for stabilisation.
Shoulder straps
The shoulder straps are designed to fit snug to your shoulders, and the front of your upper torso, without restricting movement or blood flow. They should follow your natural shape and be secure enough to stop the pack bouncing around when moving, but loose enough to ensure you have a full range of motion.
Chest strap
The chest strap, or sternum strap, is simply designed to stop your shoulder straps from sliding down your arms. This is particularly helpful when wearing smoother garments, such as shells, where there isn’t much friction to hold the shoulder straps in place.
The sternum straps should be tightened enough to achieve this, but it should not restrict your breathing or freedom of movement.
Load lifter strap
The load lifter strap is the small strap that connects the top of the shoulders to the upper construction of the back system on your backpack. If you loosen the straps, the top of the pack will move away from your body, and if you tighten them, the top of your pack will shift towards your body.
This helps to centre the weight of your pack towards your body, which is useful if you have a lot of weight at the top of your pack.

Achieving a comfortable fit involves adjusting all four parts of your harness. Here’s how to do it:
Load up your backpack with as much weight as you expect to carry for your trip. This way, you’ll ensure your pack is fitted with your load in mind and there are no surprises on the trail.
Adjust the back length using the mechanism provided (if it has one). Measure the pack from the base to the middle of the shoulder straps. This should roughly match your back length measurement.
Loosen all the straps described above and put the backpack on over your shoulders.
Start with the waist strap, securing it so the top of the hipbelt sits about 1” above your iliac crest.
Pull the waist strap to adjust it, until you feel the weight of the pack rest on your hips. The fit should be snug but not too tight, and support the weight of the pack without sliding down.
Now pull the webbing on the shoulder straps to bring the backpack up and in towards your back. The shoulder straps should feel tight enough to hold the pack in place without any movement, but they shouldn’t restrict your mobility.
Gently adjust the load lifter strap to bring the pack weight into your back. Stop pulling before you feel the weight lift off your hips. This feature is especially useful if you have a heavy load and want to pull some of the weight into your centre of balance.
Finally, fasten the sternum strap, and gently pull it in.
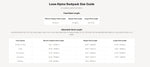
The maximum weight you can comfortably carry is really a matter of personal preference and depends on the distance and type of terrain you’ll be covering. However if you’re worried about overfilling your pack, here is our suggested load range as a guide:
| Backpack volume | Suggested load range |
|---|---|
| 5-30 L | 0-16kg |
| 30-50 L | 7-19kg |
| 50-80 L | 12-28kg |


